Email Setup Guides
Print
A) Make sure you have the correct email settings for your account. Click here for a guide on finding your correct email settings. Other than the username (Email Address) and password, all settings will be exactly the same for all email accounts on the same domain.
B) If you're unsure what your email password is, click here for a guide on how to change it
Webmail
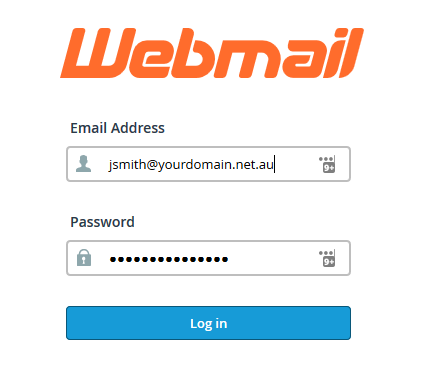
Webmail is a way of accessing your email using a web browser (like Chrome, Firefox or Safari) just like Hotmail or Gmail.
You can access webmail by adding webmail. or /webmail to the front or back of your domain. For example, if your domain is yourdomain.net.au you will use one of these 2 links:
yourdomain.net.au/webmail or webmail.yourdomain.net.au
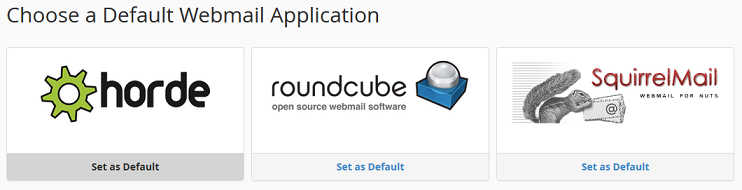
Once in, you will have 3 email clients to chose from. We find that Roundcube is often the easiest to use. Click Set as Default and it will open automatically the next time you access Webmail
MICROSOFT OUTLOOK for WINDOWS
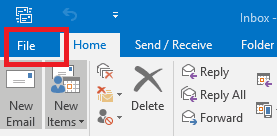
Step 1 - Click on File

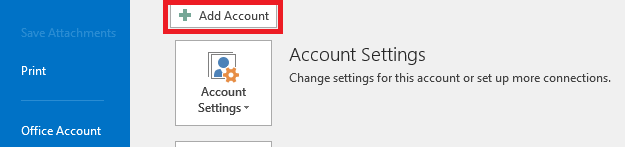
Step 2 - Click on Add Account

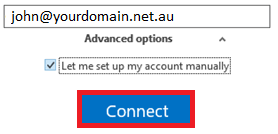
Step 3 - Add your email address, select Advanced Options and tick Let me set up my account manually then click Connect
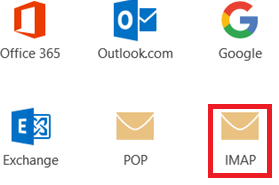
Step 4 - Select IMAP as the account type
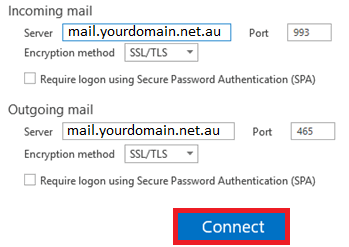
Step 5 - Add your mail settings and click Connect
Step 6 - Add your email username (full email address) and password in and click OK

Step 1 - Click on File
Step 2 - Click on Add Account
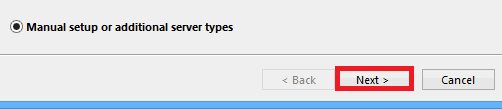
Step 3 - Select Manual setup and click Next
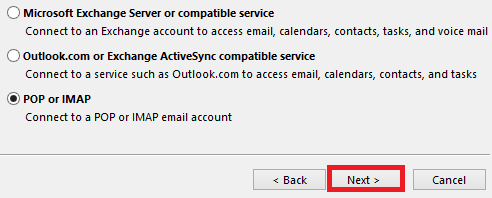
Step 4 - Select POP or IMAP and click Next
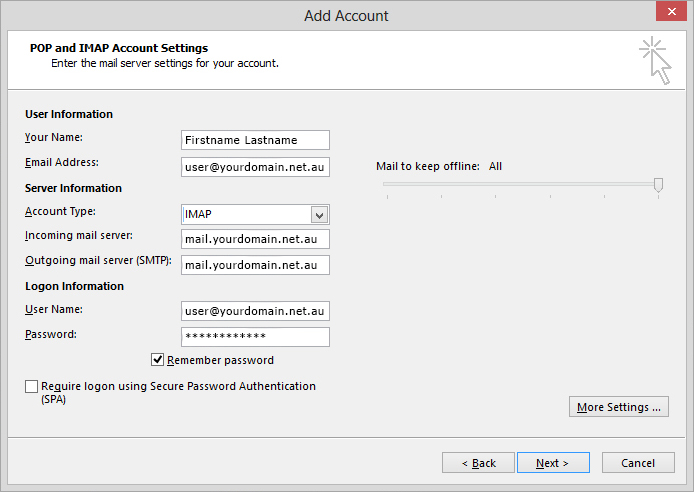
Step 5 - Add your details in and click More Settings
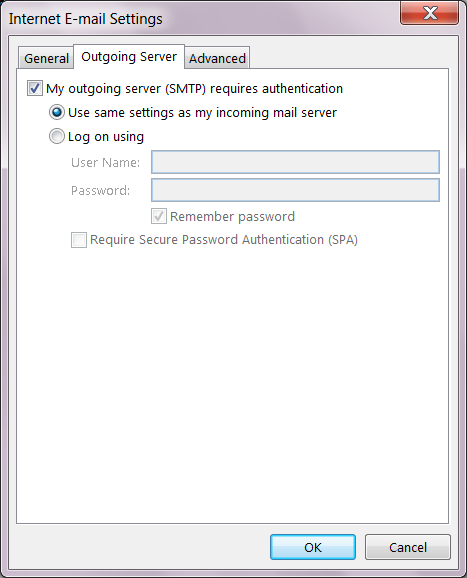
Step 6 - Select Outgoing Server and tick My outgoing server (SMTP) requires authentication then click on Advanced
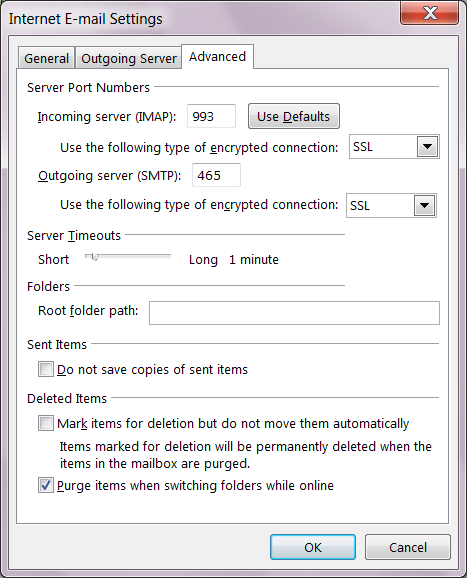
Step 7 - Set the Incoming server and Outgoing server settings the same as the picture bellow, then click OK.
Step 1 - Click on Tools > Account Settings

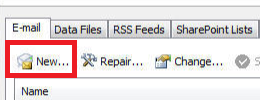
Step 2 - Click on New
Step 3 - Click on Next
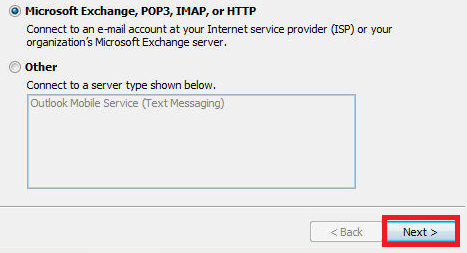
Step 4 - Select Manually Configure and click Next

Step 5 - Select Internet E-mail and click Next

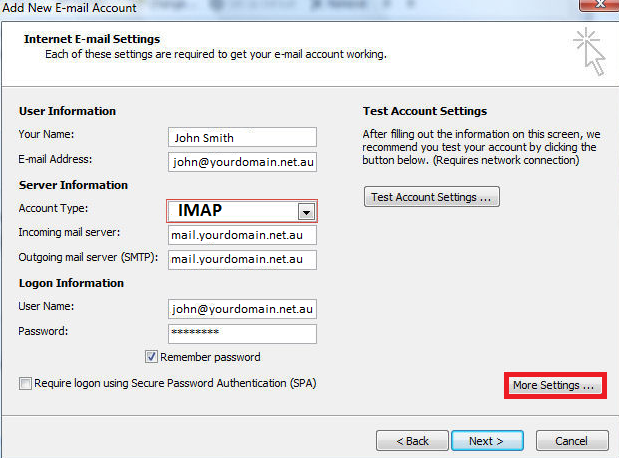
Step 6 - Add your email settings, make sure Account Type is IMAP and click More Settings
Step 7 - Select Outgoing Server and tick My outgoing server (SMTP) requires authentication then click on Advanced
Step 8 - Set the Incoming server and Outgoing server settings the same as the picture bellow, then click OK.
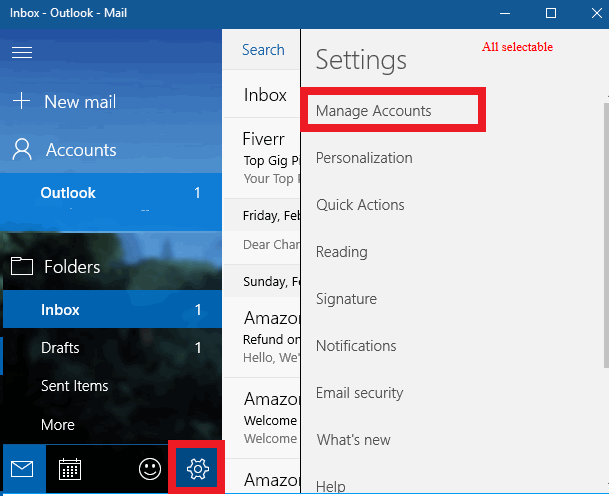
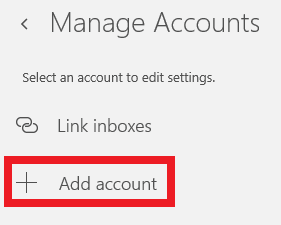
Step 1 - Click the Settings icon then Manage Accounts
Step 2 - Click Add account
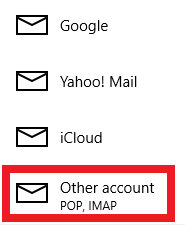
Step 3 - Select Other account
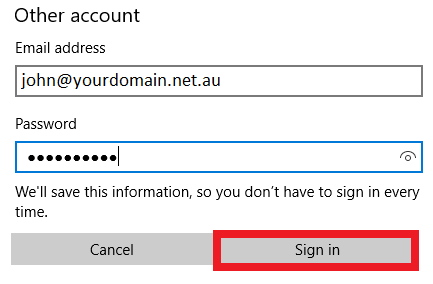
Step 4 - Add your email address and password then click Sign in
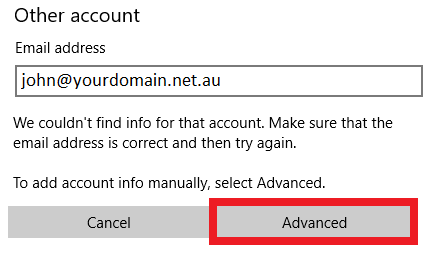
Step 5 - Click Advanced on the next screen
Step 6 - Add your mail settings and click Sign in
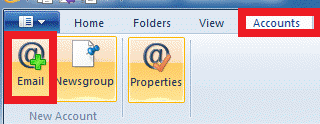
Step 1 - Click on Accounts > Email
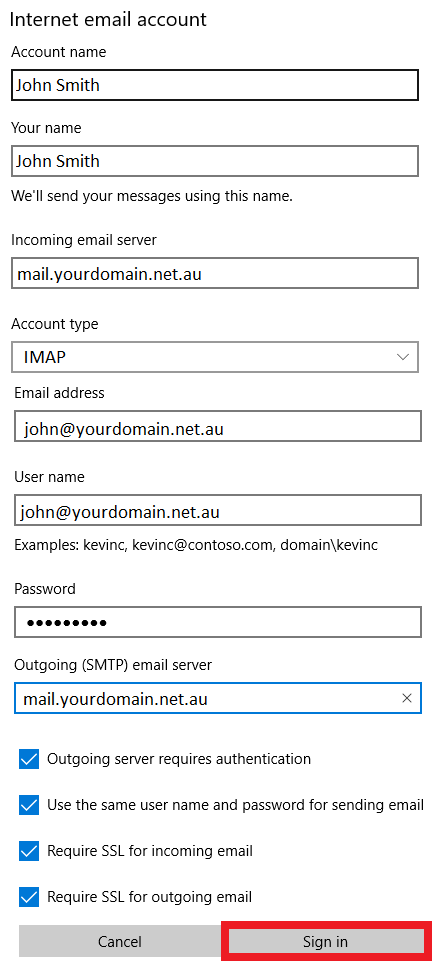
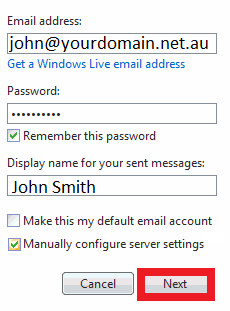
Step 2 - Add your details in, make sure to tick Manually configure and click Next
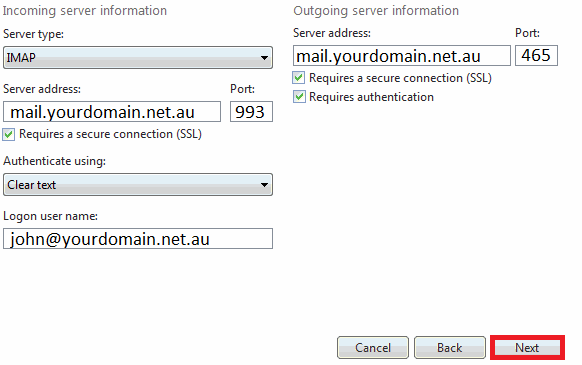
Step 3 - Add the correct mail server settings and click Next
Apple Mac
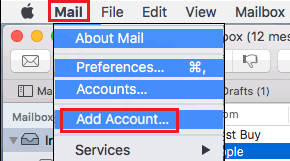
Step 1 - Click on Mail > Add Accounts
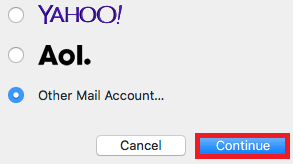
Step 2 - Select Other Mail Account and click on Continue
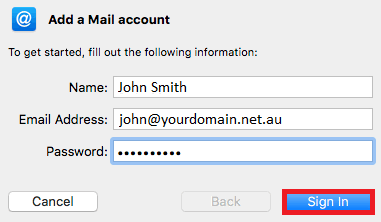
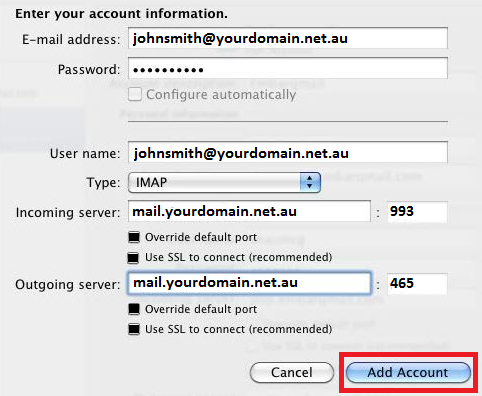
Step 3 - Add your details in and click Sign In
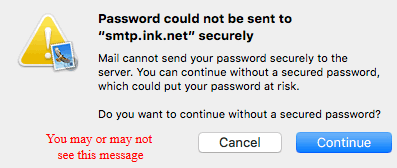
Step 4 - If you get this error, just click Continue
Step 5 - Add your email details and click Sign In
Step 6 - Click Done
Step 1 - Click on Mail > Add Account

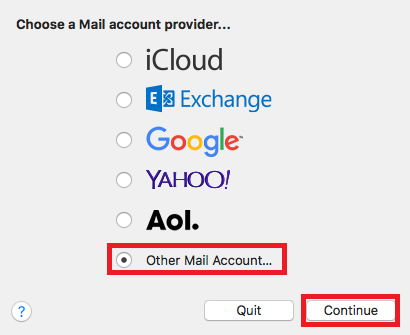
Step 2 - Select Other Mail Account and click Continue
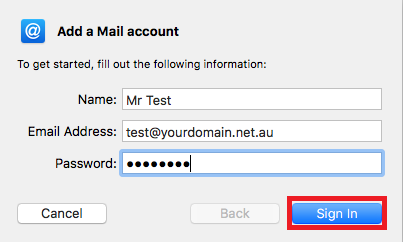
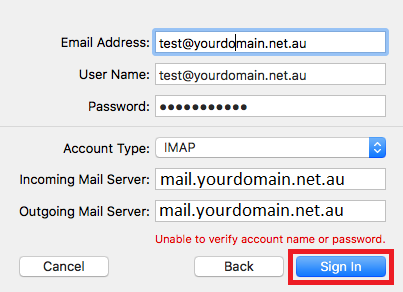
Step 3 - Input your name, email and password.
Note: You may get an error in red saying the account settings or password can't be verified. Ignore this for now and click Sign in.
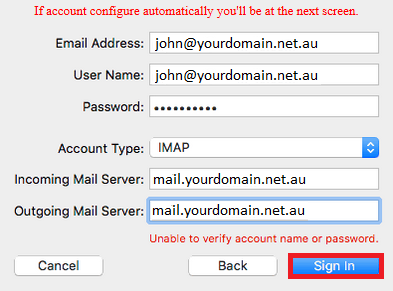
Step 4 - Input your details and click Sign In.
Note 1: We recommend using IMAP instead of POP. POP does not sync emails through the server, which can result in missing emails if the account is set up on more than 1 device
Note 2: You may get an error in red saying the account settings or password can't be verified. This error can safely be ignored for now
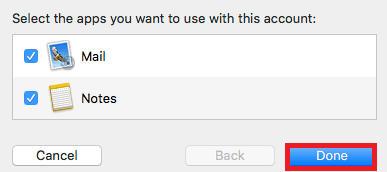
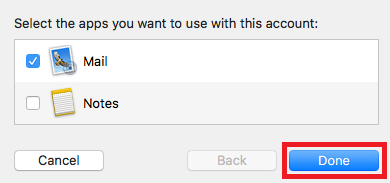
Step 5 - If the settings you input were correct, you will see this screen. Make sure to untick Notes and click Done.
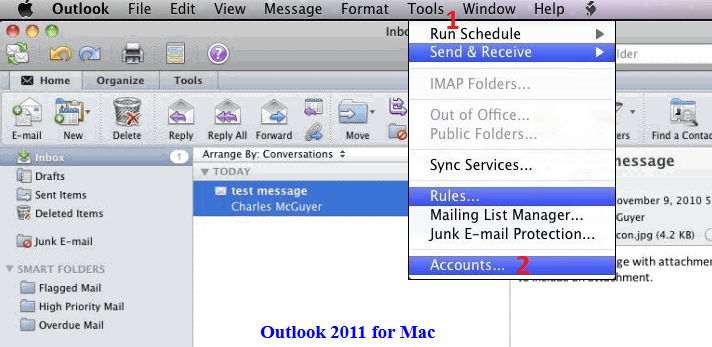
Step 1 - Click on Tools > Accounts
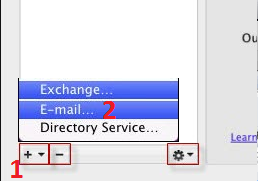
Step 2 - Click on + > E-mail
Step 3 - Add your domain settings
Step 4 - Set outgoing server Authentication to Use Incoming Server Info

That's it! To test your email is working, simply send an email to that account from another and vice versa. Easiest thing to do is send yourself an email, for example to johnsmith@yourdomain.net.au from johnsmith@yourdomain.net.au
iPhone iPad and Android
Use the following steps to configure email for iOS on an iPhone or iPad.
Step 1 - Click on Settings

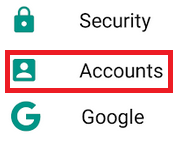
Then click Accounts
And select Add account

Step 2 - Select IMAP
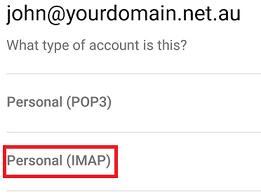
Type your email address and click MANUAL SETUP

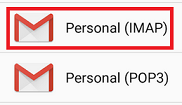
Select Personal (IMAP)
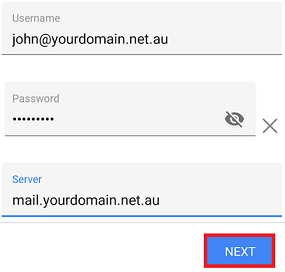
Step 3 - Add in the Incoming Server details and click Next

Add in the same settings again for the Outgoing Server and click Next
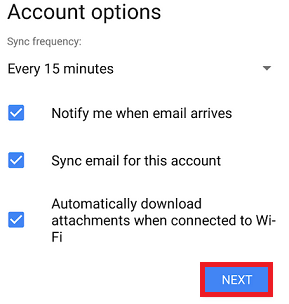
Step 4 - Click Next on this screen
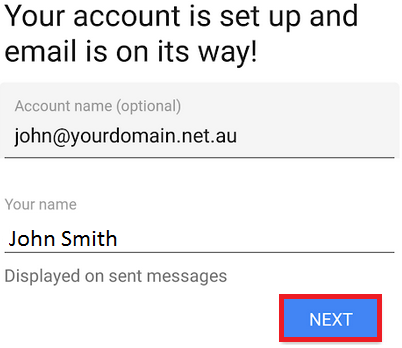
Type your name in and click Next to finish the setup
Other
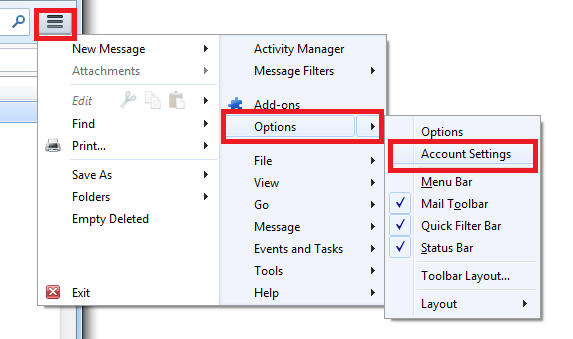
Step 1 - Click on the top right Menu button > Options > Account Settings
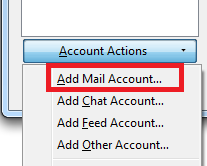
Step 2 - Click on Account Actions > Add Mail Account
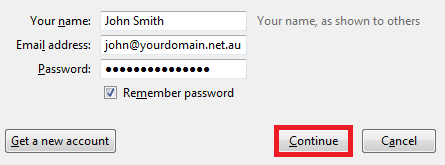
Step 3 - Add your account details and click Continue
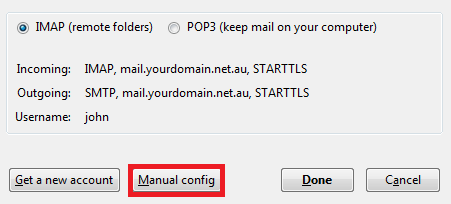
Step 4 - Select IMAP and Manual config
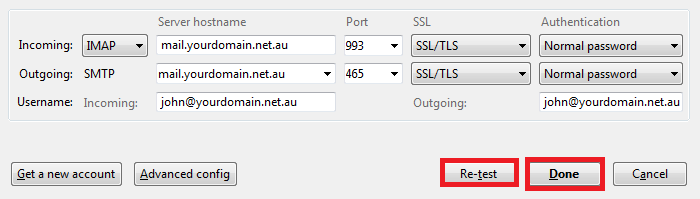
Step 5 - Make sure the account settings are correct, click Re-test then click Done
Before You Start:
1 - Make sure your SPF record is enabled and has both spf.mailcluster.com and _spf.google.com as includes If your Nameservers are with Crucial, click here for a guide on setting this. Otherwise, speak with your domain registrar to make this change.
2 - Get your email settings (click here for a guide)
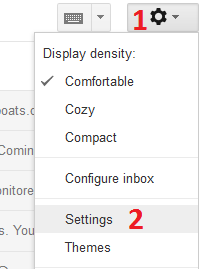
Step 1 - Log into https://gmail.com and go into the settings menu.
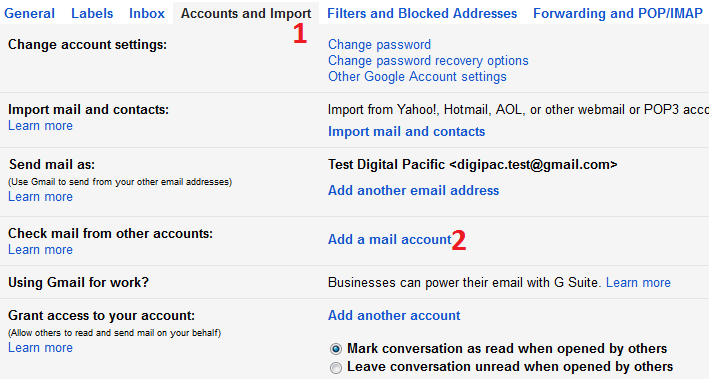
Step 2 - Click on Accounts and Imports then click Add a mail account
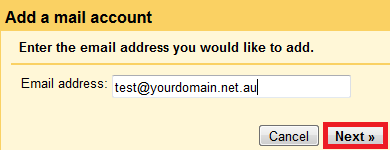
Step 3 -Add your email account then click Next
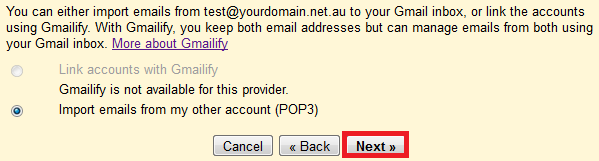
Step 4 - Select Import mail from my other accounts (POP3) then click Next
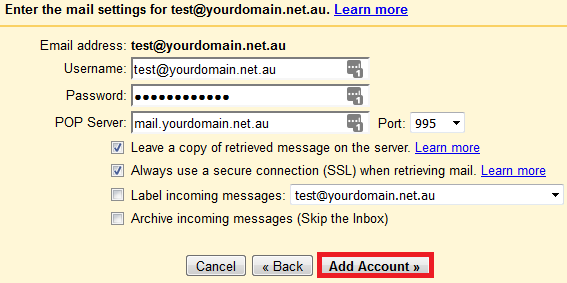
Step 5 - Put in your mail settings and click Add Account
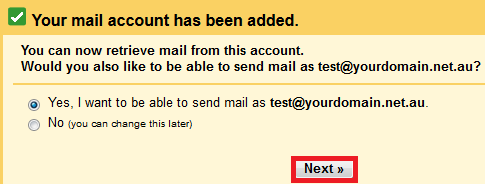
Step 6 - Select Yes if you want to send mail from Gmail using that account, then click Next
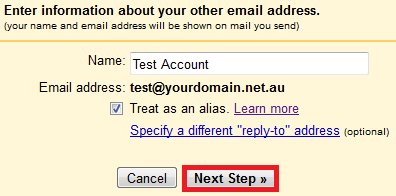
Step 7 - Add a Name (can be anything you want), select Treat as an aliasthen click Next Step
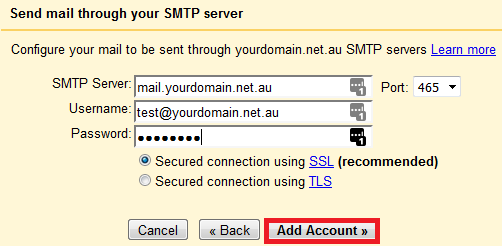
Step 8 - Add your Outgoing Mail / SMTP settings and click Next
- 14-08-2018 10:24
Email Setup Guide
Before you start:A) Make sure you have the correct email settings for your account. Click here for a guide on finding your correct email settings. Other than the username (Email Address) and password, all settings will be exactly the same for all email accounts on the same domain.
B) If you're unsure what your email password is, click here for a guide on how to change it
Webmail
Webmail - All Devices (easiest/least problematic option)
Webmail is a way of accessing your email using a web browser (like Chrome, Firefox or Safari) just like Hotmail or Gmail.
You can access webmail by adding webmail. or /webmail to the front or back of your domain. For example, if your domain is yourdomain.net.au you will use one of these 2 links:
yourdomain.net.au/webmail or webmail.yourdomain.net.au
Once in, you will have 3 email clients to chose from. We find that Roundcube is often the easiest to use. Click Set as Default and it will open automatically the next time you access Webmail
MICROSOFT OUTLOOK for WINDOWS
Outlook 2016
Step 1 - Click on File
Step 2 - Click on Add Account
Step 3 - Add your email address, select Advanced Options and tick Let me set up my account manually then click Connect
Step 4 - Select IMAP as the account type
Step 5 - Add your mail settings and click Connect
Step 6 - Add your email username (full email address) and password in and click OK
Outlook 2013 / 2010
Step 1 - Click on File
Step 2 - Click on Add Account
Step 3 - Select Manual setup and click Next
Step 4 - Select POP or IMAP and click Next
Step 5 - Add your details in and click More Settings
Step 6 - Select Outgoing Server and tick My outgoing server (SMTP) requires authentication then click on Advanced
Step 7 - Set the Incoming server and Outgoing server settings the same as the picture bellow, then click OK.
Outlook 2007
Step 1 - Click on Tools > Account Settings
Step 2 - Click on New
Step 3 - Click on Next
Step 4 - Select Manually Configure and click Next
Step 5 - Select Internet E-mail and click Next
Step 6 - Add your email settings, make sure Account Type is IMAP and click More Settings
Step 7 - Select Outgoing Server and tick My outgoing server (SMTP) requires authentication then click on Advanced
Step 8 - Set the Incoming server and Outgoing server settings the same as the picture bellow, then click OK.
Windows Mail (Windows 8 and 10)
Step 1 - Click the Settings icon then Manage Accounts
Step 2 - Click Add account
Step 3 - Select Other account
Step 4 - Add your email address and password then click Sign in
Step 5 - Click Advanced on the next screen
Step 6 - Add your mail settings and click Sign in
Windows Live Mail Email Setup (Windows 7 and earlier)
Step 1 - Click on Accounts > Email
Step 2 - Add your details in, make sure to tick Manually configure and click Next
Step 3 - Add the correct mail server settings and click Next
Apple Mac
Mac Mail (old version)
Step 1 - Click on Mail > Add Accounts
Step 2 - Select Other Mail Account and click on Continue
Step 3 - Add your details in and click Sign In
Step 4 - If you get this error, just click Continue
Step 5 - Add your email details and click Sign In
Step 6 - Click Done
Mac Mail (new version, 2016 and later)
Step 1 - Click on Mail > Add Account
Step 2 - Select Other Mail Account and click Continue
Step 3 - Input your name, email and password.
Note: You may get an error in red saying the account settings or password can't be verified. Ignore this for now and click Sign in.
Step 4 - Input your details and click Sign In.
Note 1: We recommend using IMAP instead of POP. POP does not sync emails through the server, which can result in missing emails if the account is set up on more than 1 device
Note 2: You may get an error in red saying the account settings or password can't be verified. This error can safely be ignored for now
Step 5 - If the settings you input were correct, you will see this screen. Make sure to untick Notes and click Done.
Outlook for Mac
Step 1 - Click on Tools > Accounts
Step 2 - Click on + > E-mail
Step 3 - Add your domain settings
Step 4 - Set outgoing server Authentication to Use Incoming Server Info
That's it! To test your email is working, simply send an email to that account from another and vice versa. Easiest thing to do is send yourself an email, for example to johnsmith@yourdomain.net.au from johnsmith@yourdomain.net.au
iPhone iPad and Android
iPhone and iPad
Use the following steps to configure email for iOS on an iPhone or iPad.
- Select the 'Settings' button on the Home screen.
- Click on 'Accounts & Passwords' in the Settings.
- Click on 'Add Account' in the Accounts section
- Choose 'Other' as your email account type
- Select 'Add Mail Account' under the Mail section.
- On the New Account page, enter the following details:
'Name': Name of the account
'Email': The email address for the account, eg. 'you@yourdomain.com'
'Password': Password for the email account.
'Description': Textual description for the account
Then click 'Next'. - The device may attempt to retrieve the emails settings for the server. If it fails, continue with the following steps to configure the settings manually.
- Both POP and IMAP are supported on Crucial servers. Read about the difference between POP and IMAP before selecting the type of mail account you want to setup. Select 'POP' or 'IMAP' depending on your preference.
- After selecting the type of mail account, scroll down and fill in the details for the 'Incoming Mail Server' and 'Outgoing Mail Server'.
Incoming Mail Server
'Host Name': mail.yourdomain.com
'Username': Your full email address, eg. you@yourdomain.com
'Password': The password to your email address
Outgoing Mail Server
'Host Name': mail.yourdomain.com
'Username': Your full email address, eg. you@yourdomain.com
'Password': The password to your email address. - Tap on 'Save'
The device will try to verify the details entered. This process can take a while.
If you are using a Self Signed SSL Certificate, you will get a warning saying 'Cannot Verify Server Identity', Click on 'continue'.
Android (Samsung and others)
Step 1 - Click on Settings
Then click Accounts
And select Add account
Step 2 - Select IMAP
Type your email address and click MANUAL SETUP
Select Personal (IMAP)
Step 3 - Add in the Incoming Server details and click Next
Add in the same settings again for the Outgoing Server and click Next
Step 4 - Click Next on this screen
Type your name in and click Next to finish the setup
Other
Thunderbird
Step 1 - Click on the top right Menu button > Options > Account Settings
Step 2 - Click on Account Actions > Add Mail Account
Step 3 - Add your account details and click Continue
Step 4 - Select IMAP and Manual config
Step 5 - Make sure the account settings are correct, click Re-test then click Done
Google Gmail
Before You Start:
1 - Make sure your SPF record is enabled and has both spf.mailcluster.com and _spf.google.com as includes If your Nameservers are with Crucial, click here for a guide on setting this. Otherwise, speak with your domain registrar to make this change.
2 - Get your email settings (click here for a guide)
Step 1 - Log into https://gmail.com and go into the settings menu.
Step 2 - Click on Accounts and Imports then click Add a mail account
Step 3 -Add your email account then click Next
Step 4 - Select Import mail from my other accounts (POP3) then click Next
Step 5 - Put in your mail settings and click Add Account
Step 6 - Select Yes if you want to send mail from Gmail using that account, then click Next
Step 7 - Add a Name (can be anything you want), select Treat as an aliasthen click Next Step
Step 8 - Add your Outgoing Mail / SMTP settings and click Next
Thank you for your feedback on this article.
Related Articles
© Crucial