Automatic Email Setup for iPhone / iPad
Print
Before you start:
A) If you don't have the email password, you can reset it here.
B) If automatic setup fails, you can also follow this guide to perform the setup manually.
Step 1 - Log into Webmail for the email account in question. You will need to log in from the iPhone/iPad that you're setting up the emails on.
Note: Alternatively, you can log into cPanel and navigate to Email Accounts then Connect Devices.
Step 2 (Optional) - If you have "Open my Inbox when I log in" enabled, you will need to select Webmail Home. Otherwise, proceed to Step 3.
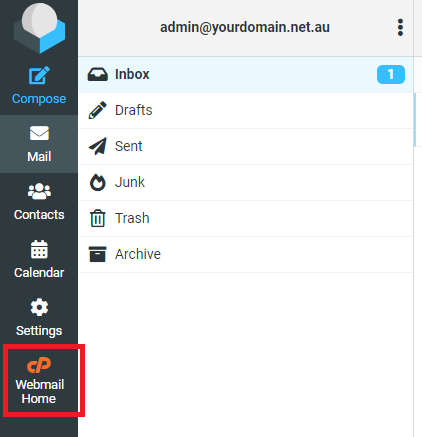
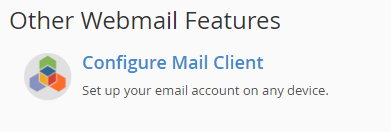
Step 3 - Select Configure Mail Client down the bottom of the page.
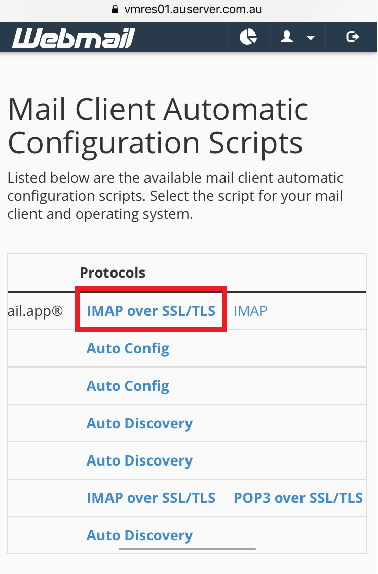
Step 4 - Select IMAP over SSL/TLS next to "iOS for iPhone/iPad/iPod and MacOS Mail.app".

Note: Depending on your iPhone/iPad, you may find that this box is smaller than normal, and you will need to scroll to the right to see the Protocols section.
Step 5 - Select Proceed.

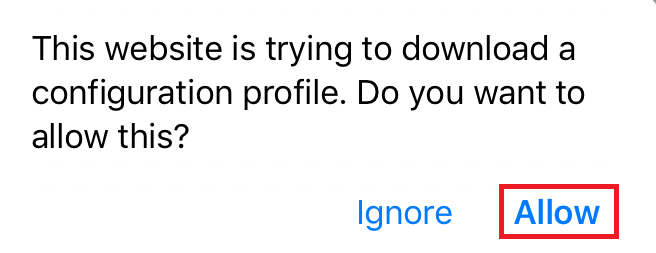
Step 6 - Select Allow.
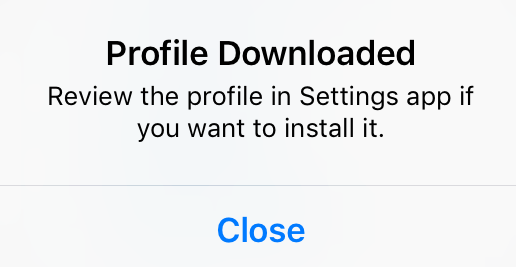
Step 7 - Select Close.
Step 8 - Navigate to your Settings app.
Step 9 - Select Profile Downloaded.

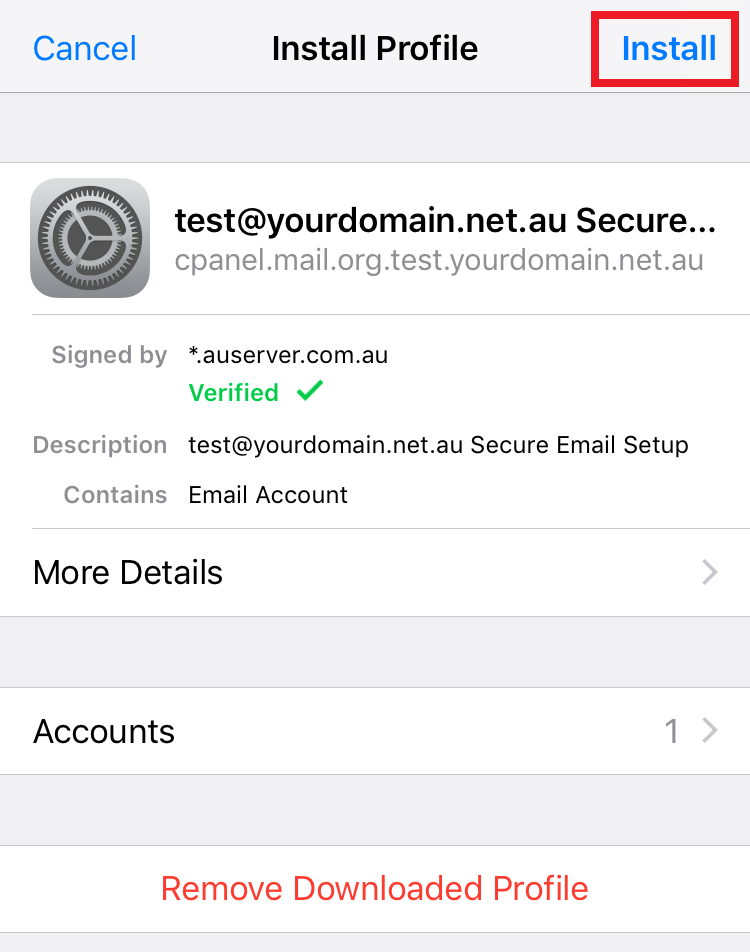
Step 10 - Select Install.
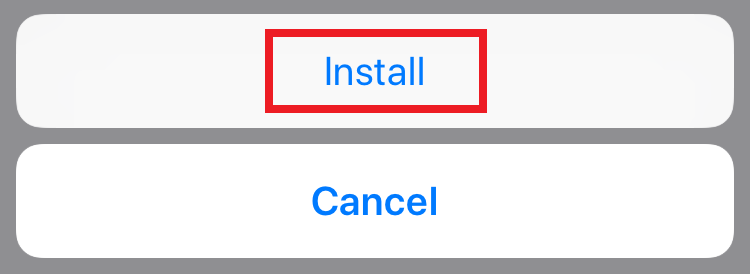
Step 11 - Enter in your iPhone/iPad password, then select Install again.
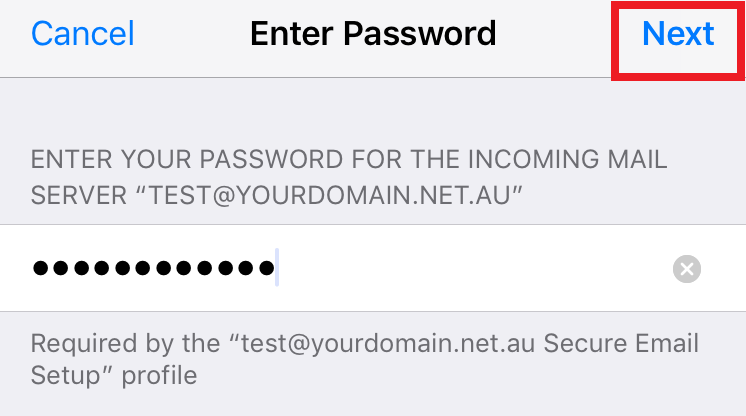
Step 12 - Enter the same password you used to log into Webmail, then click Next.
Step 13 - Select Done. The setup should now be completed.

Test the email account by sending an email from / to your email address (e.g. from admin@yourdomain.net.au to admin@yourdomain.net.au).
For more tutorials on accessing emails and setting up email clients, view our Email Setup Guides.
- 07-07-2020 11:12
Automatic Email Setup for iPhone / iPad
Before you start:
A) If you don't have the email password, you can reset it here.
B) If automatic setup fails, you can also follow this guide to perform the setup manually.
Step 1 - Log into Webmail for the email account in question. You will need to log in from the iPhone/iPad that you're setting up the emails on.
Note: Alternatively, you can log into cPanel and navigate to Email Accounts then Connect Devices.
Step 2 (Optional) - If you have "Open my Inbox when I log in" enabled, you will need to select Webmail Home. Otherwise, proceed to Step 3.
Step 3 - Select Configure Mail Client down the bottom of the page.
Step 4 - Select IMAP over SSL/TLS next to "iOS for iPhone/iPad/iPod and MacOS Mail.app".
Note: Depending on your iPhone/iPad, you may find that this box is smaller than normal, and you will need to scroll to the right to see the Protocols section.
Step 5 - Select Proceed.
Step 6 - Select Allow.
Step 7 - Select Close.
Step 8 - Navigate to your Settings app.
Step 9 - Select Profile Downloaded.
Step 10 - Select Install.
Step 11 - Enter in your iPhone/iPad password, then select Install again.
Step 12 - Enter the same password you used to log into Webmail, then click Next.
Step 13 - Select Done. The setup should now be completed.
Test the email account by sending an email from / to your email address (e.g. from admin@yourdomain.net.au to admin@yourdomain.net.au).
For more tutorials on accessing emails and setting up email clients, view our Email Setup Guides.
Related Articles
© Crucial