Set up a CRON job in cPanel
Print
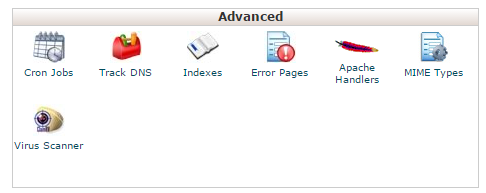
Step 1 - Log into cPanel and click the Cron Jobs icon.
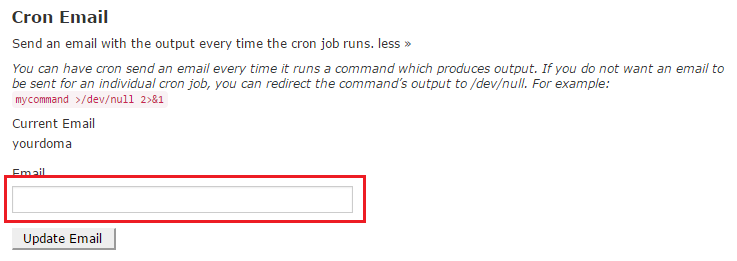
Step 2 - Enter the email address where you want the cron job results sent after each time it runs.
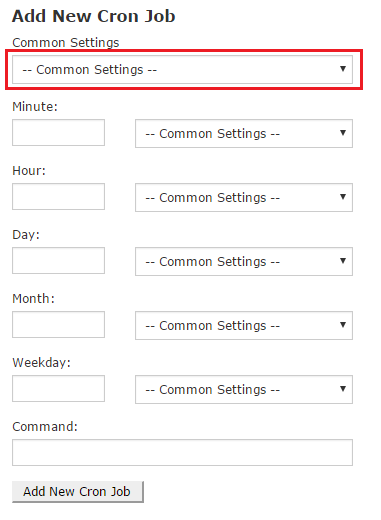
Step 3 - Now you have to define exactly when and how often you want the cron job to run. This is made easier by using one of the pre-defined or common settings.
Notice that by choosing a common setting, all fields are filled in automatically. This also helps you understand what each field means
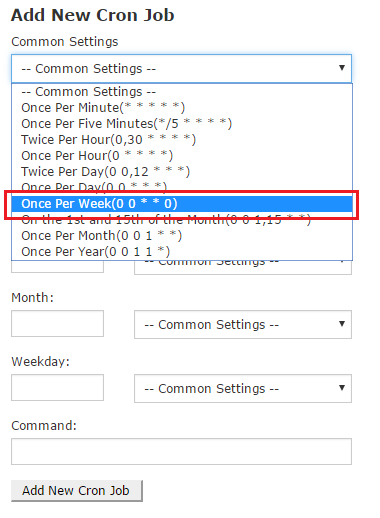
Step 4 - Choose Once a week or an appropriate time for your task.
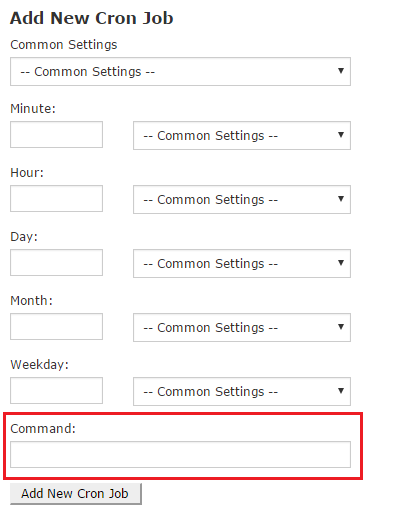
Step 5 - Next, enter the command of the script you want to run, including the complete path. As an example, if you wanted to run the script 'script.sh' from your public_html folder, you would type:
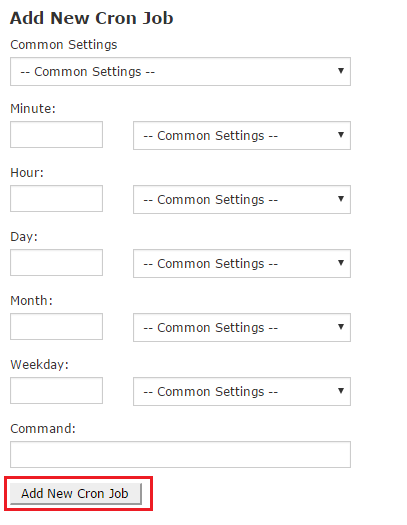
Step 6 - Click Add New Cron Job.
Once created, you can view the existing CRON jobs down the bottom of the page.

You can create additional CRON jobs, and edit or delete existing ones.

Note: Many people set their CRON jobs to run on the first minute of every hour. In some cases, this can lead to load on the server depending on the amount and types of CRON jobs running. Consider setting your jobs to trigger on the 27th minute of every hour or a similar unusual time.
Note: Ensure you set the 'Minute' field correctly. If you set this to *, the Cron job will run every minute and cause high load on your cPanel. On Shared servers, Crons cannot be set to run more frequently than every 5 minutes.
Set up a CRON job in cPanel
Note: Our support team can assist with ensuring the CRON jobs are run by the server at the appropriate time, but cannot advise on the commands themselves. If you require assistance with creating a CRON to perform a specific task, we'd recommend getting in touch with a developer.Step 1 - Log into cPanel and click the Cron Jobs icon.
Step 2 - Enter the email address where you want the cron job results sent after each time it runs.
Step 3 - Now you have to define exactly when and how often you want the cron job to run. This is made easier by using one of the pre-defined or common settings.
Notice that by choosing a common setting, all fields are filled in automatically. This also helps you understand what each field means
Step 4 - Choose Once a week or an appropriate time for your task.
Step 5 - Next, enter the command of the script you want to run, including the complete path. As an example, if you wanted to run the script 'script.sh' from your public_html folder, you would type:
/home/<cPanel_Username>/public_html/script.sh
Step 6 - Click Add New Cron Job.
Once created, you can view the existing CRON jobs down the bottom of the page.
You can create additional CRON jobs, and edit or delete existing ones.
Note: Many people set their CRON jobs to run on the first minute of every hour. In some cases, this can lead to load on the server depending on the amount and types of CRON jobs running. Consider setting your jobs to trigger on the 27th minute of every hour or a similar unusual time.
Note: Ensure you set the 'Minute' field correctly. If you set this to *, the Cron job will run every minute and cause high load on your cPanel. On Shared servers, Crons cannot be set to run more frequently than every 5 minutes.
Related Articles
© Crucial