How do I restore my backups from Idera Backup Manager? (VPS)
Print
If you have a VPS with backups enabled on it, you can restore selected files, folders and database from any recovery point stored in the Idera backup manager.
To restore data from the Idera backup manager, follow the instructions below:
New Interface
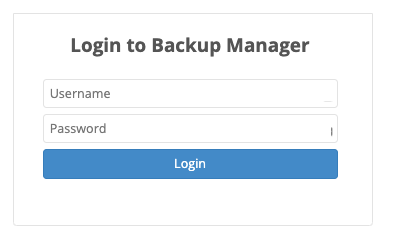
Step 1 - Sign into the Idera backup manager using the details given in the email when Idera was configured.
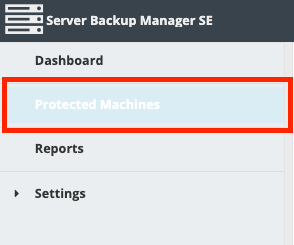
Step 2 - On the left hand side, click on Protected Machines.
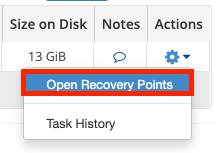
Step 3 - On the right hand side, select the Actions icon, and then click on Open Recovery Points.
Step 4 - Find the date and time that you wish to restore from, and then click on the Actions icon to either:
a) Browse - This option is to browse backup files and restore.
b) Bare Metal Restore - This is a full restore of the server from the drive level. We do not recommend you action this unless it is necessary (may take an extended amount of time to restore depending on your drive size).
c) Browse Databases - This will restore databases that have been backed up.


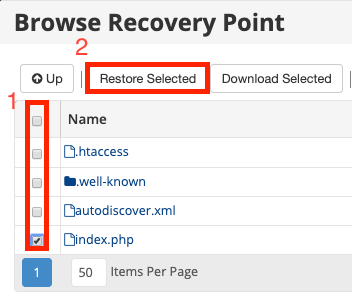
Step 2 - (1) Select the files or folders that you wish to restore, and then click (2) Restore Selected.
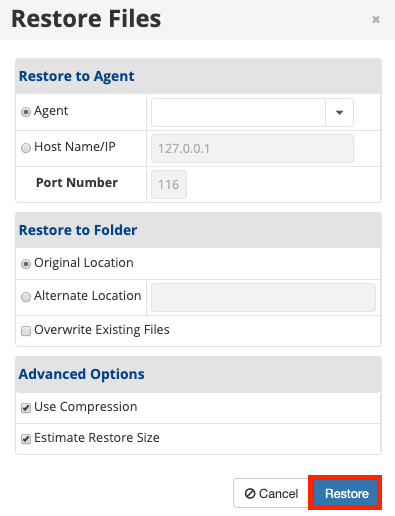
Step 3 - Select Overwrite Existing Files if you want to replace the existing file on the server - otherwise, if you are restoring a deleted file/folder, leave this unticked. Then click Restore to begin the restoration.
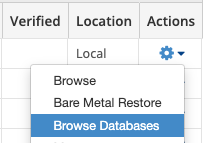
Step 1 - Click Browse Databases from the Action menu on the selected date and time.
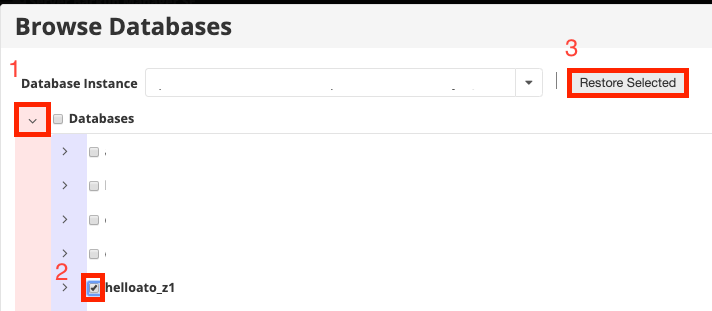
Step 2 - Click on the (1) Databases drop down to show all databases that are backed up. (2) Select the databases that you wish to restore from and then click on (3) Restore Selected.
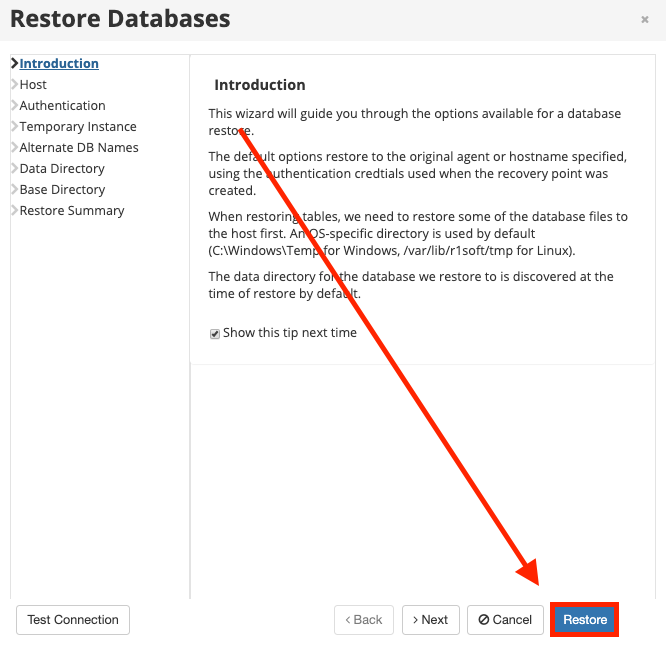
Step 3 - Click on Restore at the bottom right of the screen to start the database restoration.
The backup system stores 7 days worth of backup for each of the server. Database backups will be stored if purchased on the legacy products. Our new product include database backups by default.
There are 3 types of restore that you can do on your server.
- 29-04-2019 12:44
How do I restore my backups from Idera Backup Manager? (VPS)
If you have a VPS with backups enabled on it, you can restore selected files, folders and database from any recovery point stored in the Idera backup manager.
To restore data from the Idera backup manager, follow the instructions below:
New Interface
How to Access your Backups
Step 1 - Sign into the Idera backup manager using the details given in the email when Idera was configured.
Step 2 - On the left hand side, click on Protected Machines.
Step 3 - On the right hand side, select the Actions icon, and then click on Open Recovery Points.
Step 4 - Find the date and time that you wish to restore from, and then click on the Actions icon to either:
a) Browse - This option is to browse backup files and restore.
b) Bare Metal Restore - This is a full restore of the server from the drive level. We do not recommend you action this unless it is necessary (may take an extended amount of time to restore depending on your drive size).
c) Browse Databases - This will restore databases that have been backed up.
How do I restore files?
Step 1 - Click Browse from the Action menu on the selected backup date and time.Step 2 - (1) Select the files or folders that you wish to restore, and then click (2) Restore Selected.
Step 3 - Select Overwrite Existing Files if you want to replace the existing file on the server - otherwise, if you are restoring a deleted file/folder, leave this unticked. Then click Restore to begin the restoration.
How do I restore a Database?
Step 1 - Click Browse Databases from the Action menu on the selected date and time.
Step 2 - Click on the (1) Databases drop down to show all databases that are backed up. (2) Select the databases that you wish to restore from and then click on (3) Restore Selected.
Step 3 - Click on Restore at the bottom right of the screen to start the database restoration.
Old Interface
- Sign into the Idera backup manager using the details given in email sent out when Idera was configured.
- Click on 'Recovery Points' in the menu on the left hand side of the page.
- If you have multiple servers being backed up, you may need to select the 'Server'.
- Select the 'Disk Safe' for associated with the server. This will open a Recovery Point list for the server selected.
The backup system stores 7 days worth of backup for each of the server. Database backups will be stored if purchased on the legacy products. Our new product include database backups by default.
There are 3 types of restore that you can do on your server.
- File restore:
- Click on the browse folder icon in the Recovery List.
- Select the file or files you want to restore.
- Click on 'Restore Selected'
- Click on 'Overwrite Existing Files' if you want to replace the existing files on the server.
(If you have just deleted some file accidentally and just want the file restore, do not select this option)
[Note: If you are not sure about which options to select do not change them or contact our support team for assistance] - Click on 'Restore'
- Click on the browse folder icon in the Recovery List.
- Database Restore:
- Click on browse database icon in the Recovery List.
- Select the database you want to restore.
- Click 'Restore Selected'
- A pop up window will now open, Click 'Restore' if you are not sure about other options.
- Click on browse database icon in the Recovery List.
- Bare Metal Restore:
- This is a full restore of the server from the drive level. You will need to submit a request to the support team if you want to perform this.
Related Articles
© Crucial