Users can now access and manage multiple accounts from their Client Area. Accordingly, accounts can have multiple users assigned with different permissions and levels of access.
Users
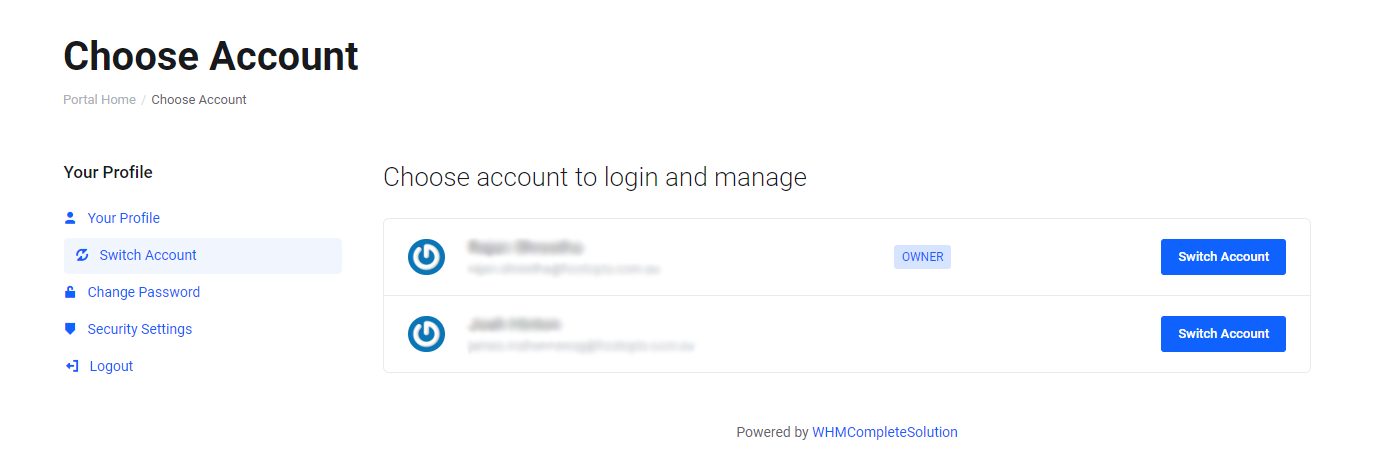
When a user is associated with more than one account, they will be prompted to select which account they would like to manage upon login:
Inviting/Adding users to an account
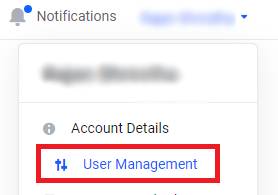
1. Click on your name in the top right corner and select User Management.
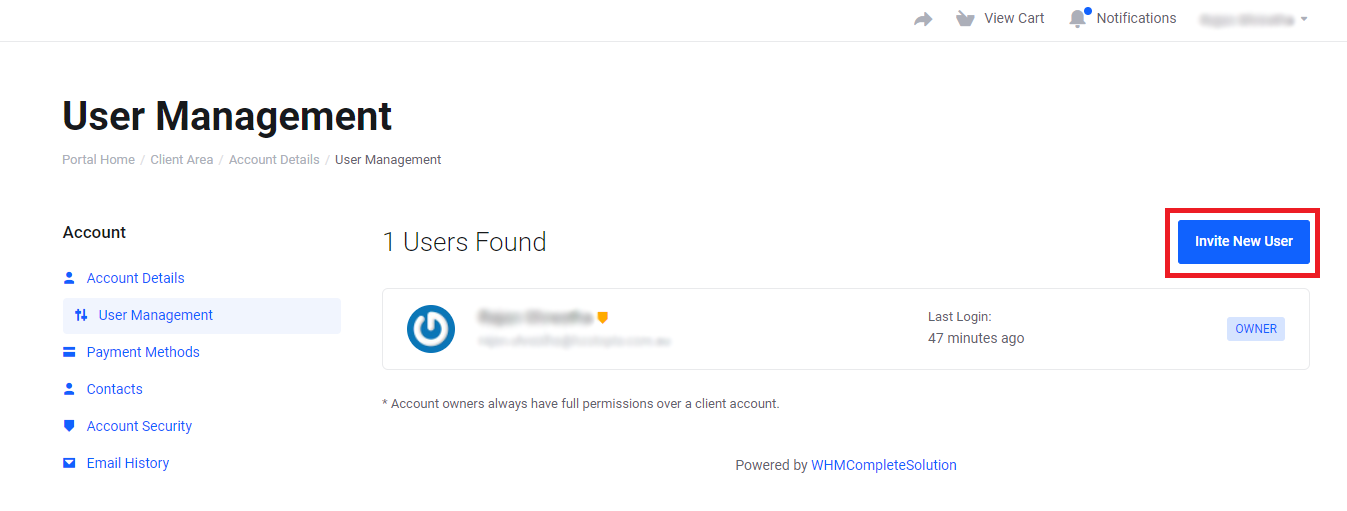
2. Click on Invite New User and enter details of the user you'd like to invite.
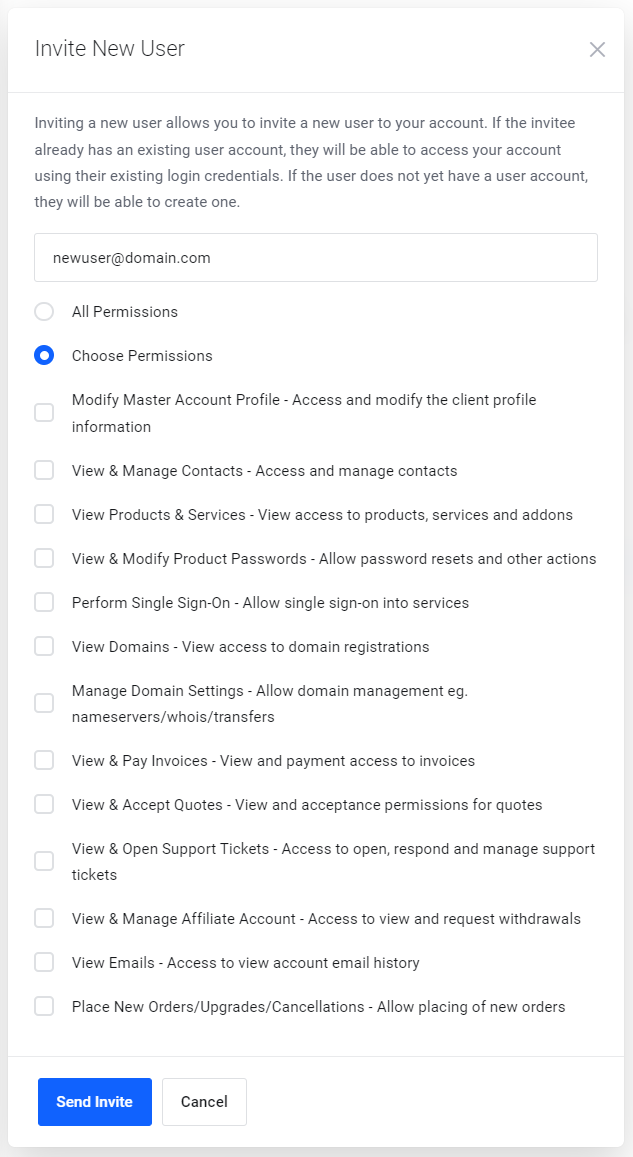
3. Ensure you review and provide only the relevant permissions to the new user.
Be careful with providing 'Modify Master Account Profile' access. This will allow a user to view and modify your primary account details including billing information. We would not recommend providing this access to web developers or temporary/external contacts.
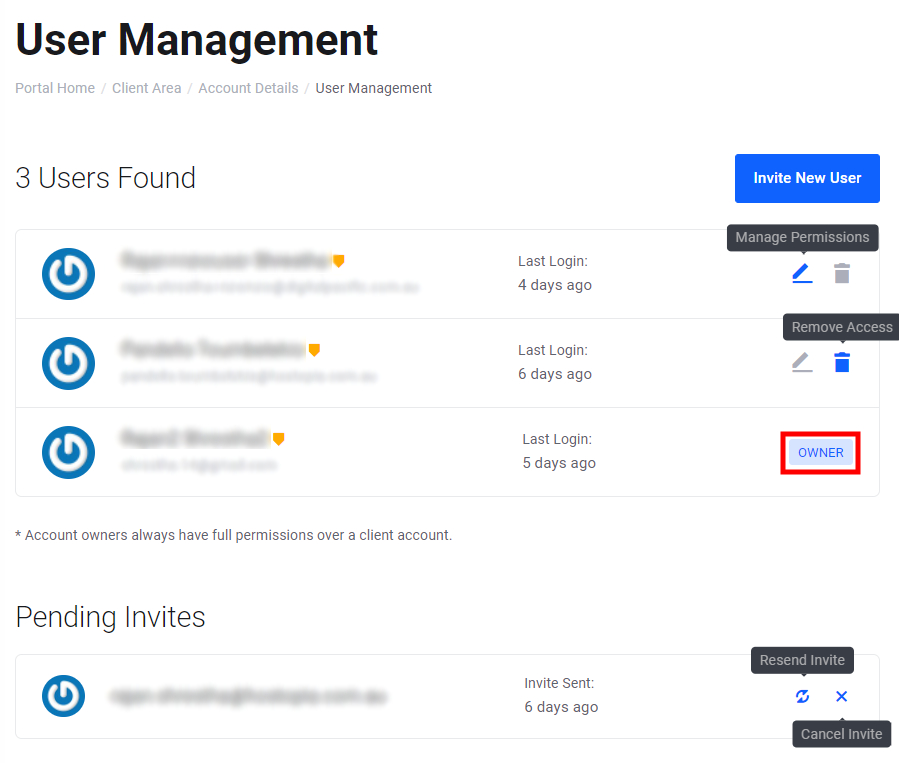
Managing Users and Invites
1. Click on your name in the top right corner and select User Management
2. You can manage permissions, remove access, re-send invites as well as cancel invites here.
Contacts
Contacts have no ability to log into or manage an account, and are only used to set up email addresses to receive account notifications. A contact can be configured to receive invoices or product details where required.
Add/Edit a Contact
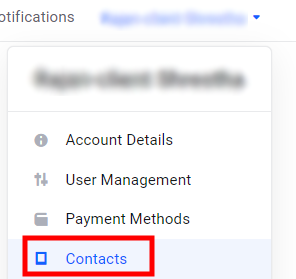
1. Click on your name in the top right corner and select Contacts .
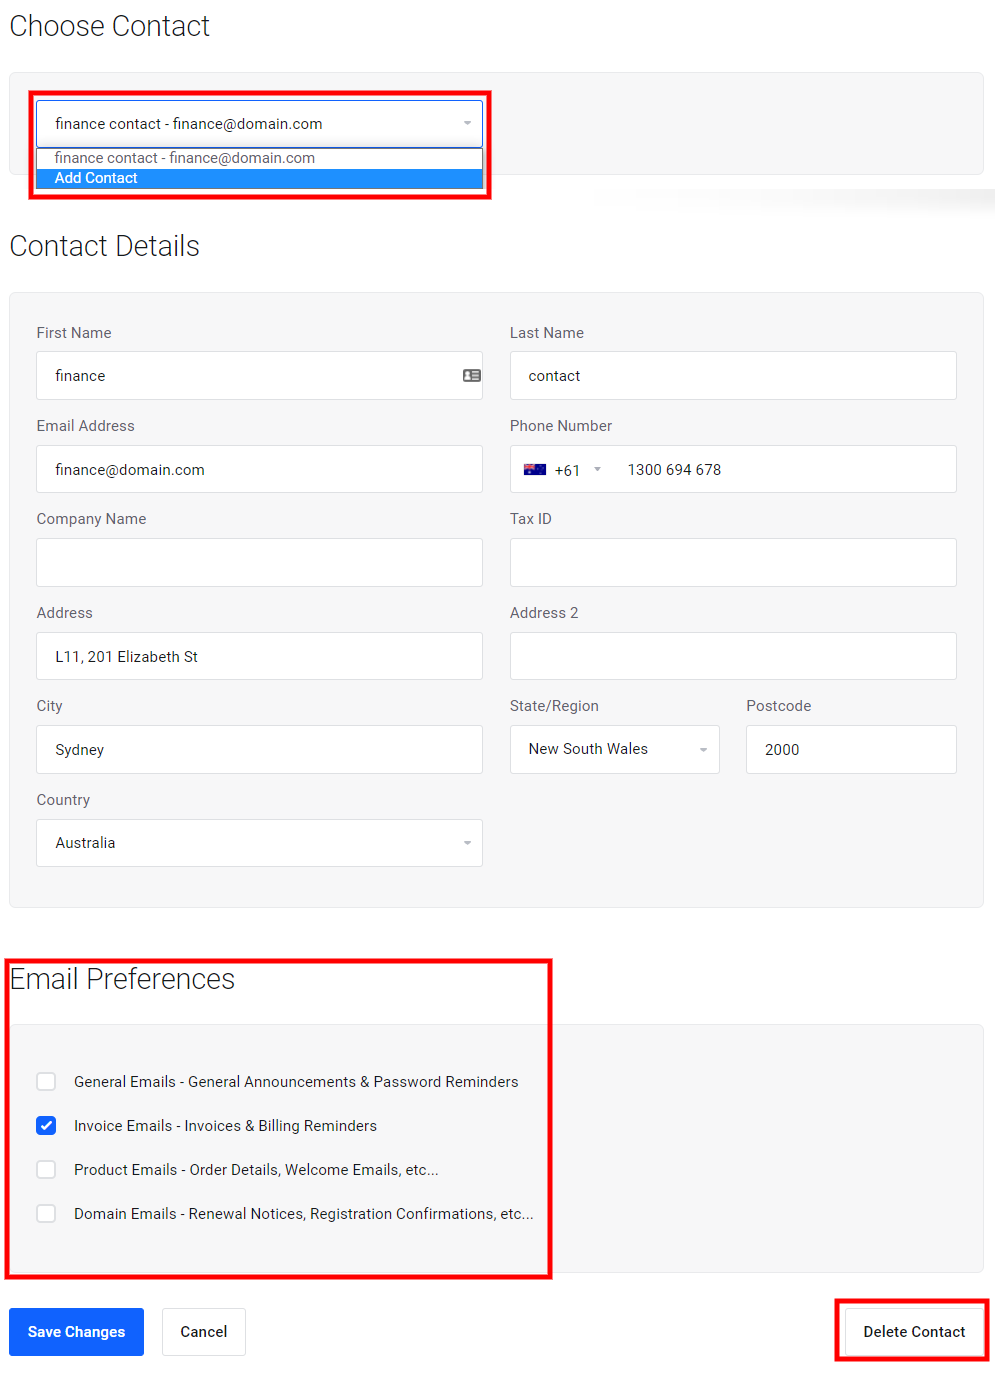
2. Select the relevant existing contact to edit or delete, or click on Add Contact to add a new contact.
3. Ensure you have selected the relevant notifications you want to be sent to this contact.