Enable and Force SSL in Wordpress
Print
Step 1 - Log into WordPress. If you've forgotten your username or password, click here for a guide on resetting it.
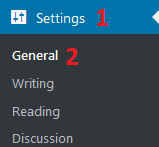
Step 2 - Click on Settings > General
Step 3 - Find the fields that say WordPress Address (URL) and Site Address (URL)

What you have to do here is change the http in both fields to https. They should look like this:

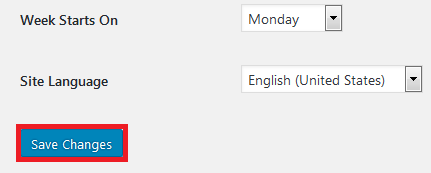
Now scroll down to the bottom of the page and click Save Changes
Step 4 - Next, you'll need to click on Plugins > Add New and Install then Activate the Really Simple SSL plugin.

Once the plugin is installed and activated, find the plugin under the Plugins section and click on Settings

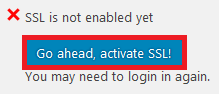
Then click Go ahead, activate SSL!
If it's succesful, you'll see this screen
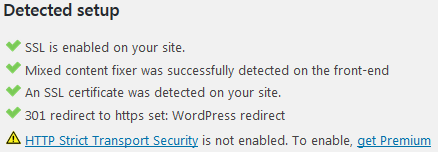
If you see that warning about HTTP Strict Transport Security, note that it isn't currently a strict requirement like SSL is. If you wish to enable it, click here for our guide on how to easily do that.
- 21-08-2018 09:19
Enable and Force SSL in Wordpress
Step 1 - Log into WordPress. If you've forgotten your username or password, click here for a guide on resetting it.
Step 2 - Click on Settings > General
Step 3 - Find the fields that say WordPress Address (URL) and Site Address (URL)
What you have to do here is change the http in both fields to https. They should look like this:
Now scroll down to the bottom of the page and click Save Changes
Step 4 - Next, you'll need to click on Plugins > Add New and Install then Activate the Really Simple SSL plugin.
Once the plugin is installed and activated, find the plugin under the Plugins section and click on Settings
Then click Go ahead, activate SSL!
If it's succesful, you'll see this screen
If you see that warning about HTTP Strict Transport Security, note that it isn't currently a strict requirement like SSL is. If you wish to enable it, click here for our guide on how to easily do that.
Related Articles
© Crucial